For some of us taking photographs comes easily, for others, not so much! So, when you get that perfect set of photographs for something as important as your Christmas cards, you of course feel some relief (especially if you have followed our blog post on how to take the perfect photo for your holiday cards!). However, choosing just one image for your card can be as stressful as taking the image itself. Below are some of our best tips on how to narrow down your selection to that perfect photograph!
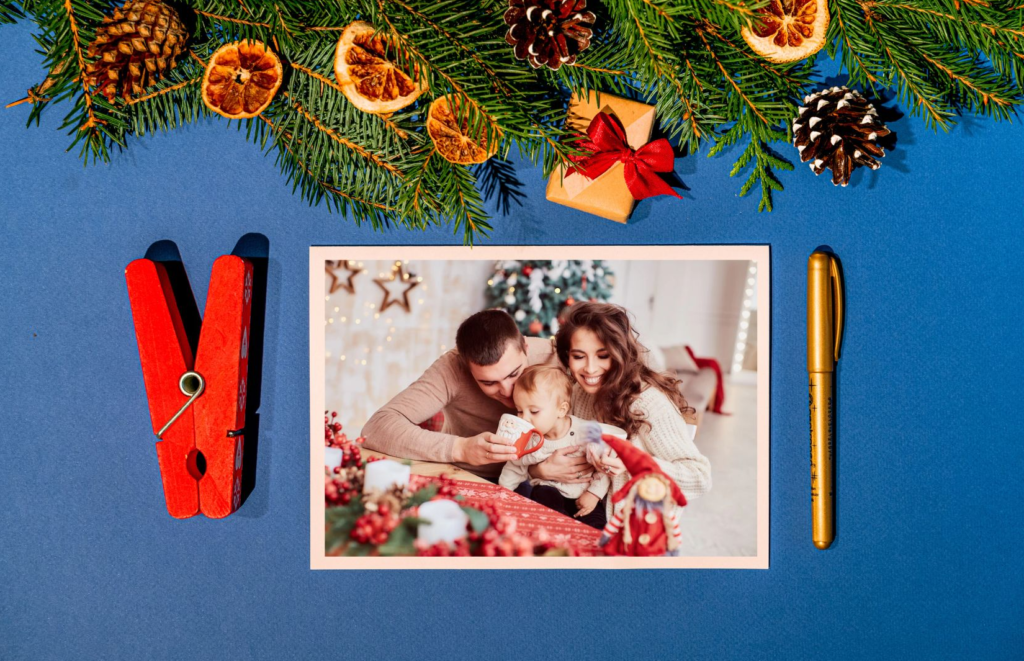
To make life easy, try to create a starter album or folder of all the images from events which might contain the image you might want to use. This can be done when you start creating you Christmas card or made at the beginning of the year and added to when images are taken. These might be images from memorable trips or days out, photographs you have favorited in your phone or ones you have had done professionally. Doing this will allow you to quickly get rid of all those images from the year that you definitely do not want on your Christmas card, such as screenshots or pictures of food, landscapes or those random images you take but forget why. Make sure these images in this folder are copies of the originals and not the original files themselves, as you do not want to delete anything permanently in our following steps.
The first job in narrowing down your images is probably the easiest – get rid of all the ones that you do not like. At this point you don’t need to think too much about which ones you might want to use, it’s all about which ones you definitely do not want! So, get rid of all those images which are blurry, where someone has their eyes closed or are cropped out. Those ones will definitely not make the cut! This is just a beginning step to narrow down the images so choose instinctively about which you are drawn to. Delete all the duds from your folder so that you only have images left which are ‘good’ photographs that you like.
Now that we have narrowed down your folder into images you like, now is where you can begin to seriously cut down your images. But don’t worry, it won’t be as challenging as you think. At this stage you want to think only about one thing – what makes you smile! Lots of photographs can be ‘nice’, but for a holiday card you want to choose one that makes you beam and automatically smile. As lovely as they might be, you don’t want just those ‘nice’ images anymore, you instead want to focus on which ones make you laugh, chuckle, or say ‘aww’, as if they make you have this reaction, just image how the card recipient is going to react. Images which cause this automatic reaction connect instantly with you and so have the potential to make perfect images for cards.
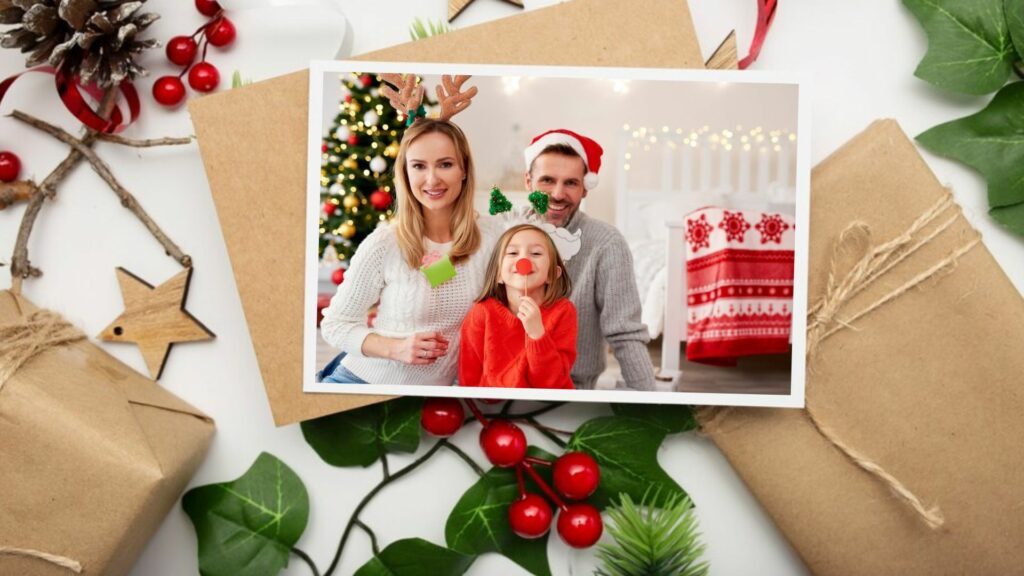
Unfortunately, once you have narrowed down your selection to all those images you like and which make you smile, you are now at the hardest part. Here is where you start to get critical! It’s important at this page to consider the design of your card, right down to the basics of if you would prefer a landscape or portrait card. Something like this might not seem like a big deal as it all might depend on the image you choose, but you might be surprised by the amount of people who don’t like to write in a landscape greetings card! Do you just want to have one image in your design, or would you prefer a collage of different photos? Do you want to add any added features to your image, such as text, a boarder or stamp; and if so, where do you want these elements to go? And are you sending the same card to each person, or do you want to send different images for different people? All these questions are important when it comes to choosing the best images, despite how trivial they might seem. It’s important to ask these questions now because at this point you have to begin to get critical of your images, which can be extremely hard!
The first step in narrowing down would be to look at all the images which are similar and to choose the best one or two from them. All the images might be different but try to focus on which one truly shows off the person or people in the image the best. You want to think about the photograph design and quality as much as the subject matter and personality! By the end of this stage, you don’t really want more that 5 images left, which might mean cutting out a lot of images. One way of trying to cut it down is to think about which ones you would prefer to have displayed in your house, as Christmas cards often get left up for a month or so before and after the holiday. You also want to look at all the little details which might distract from the main image. These can be small things such as slight blurriness, someone slightly cropping out someone else or a bad background.
By now most of the hard work is done! All you have to do is choose between those last remaining images, which although might seem like a difficult choice, can actually be easy as there is not wrong choice! By narrowing down your selection step by step you now have the best images which you like, make you smile, are of good photographic quality, and show your personality. Now you are ready for those finishing touches, such as adding text or a Christmas themed stamp or boarder to the images to give it that holiday feel!
For a touch of personalization, why not think about adding some hand-drawn images by children or grandchildren to the card or give a brief description or memory about the image you have chosen, such as when it was taken, or something funny that happened.
Greeting cards are a great way of sending a little bit of joy, which is especially true around Christmas time! By choosing to create a greetings card using your own image or images, you are adding that little bit of extra personalization and personality, giving the receiver a little snapshot into the year you’ve had. What a better way to wish someone a Merry Christmas!
Full collection of Christmas photo gifts can be found at https://artwow.co/show-by-occasion/christmas
